
Here's the post, slightly modified:
______________________________________________________________________________________
"With preparations for our sports carnival in full swing, we've set to work making some pretty bunting in the colours of our 3 factions - gold, pearl and lilac.
Here we have a tutorial on how to make some bunting. You don't have to use your bunting for a carnival, it would look great as decoration inside a house or wherever you choose!
Step 1 - Collect the materials!
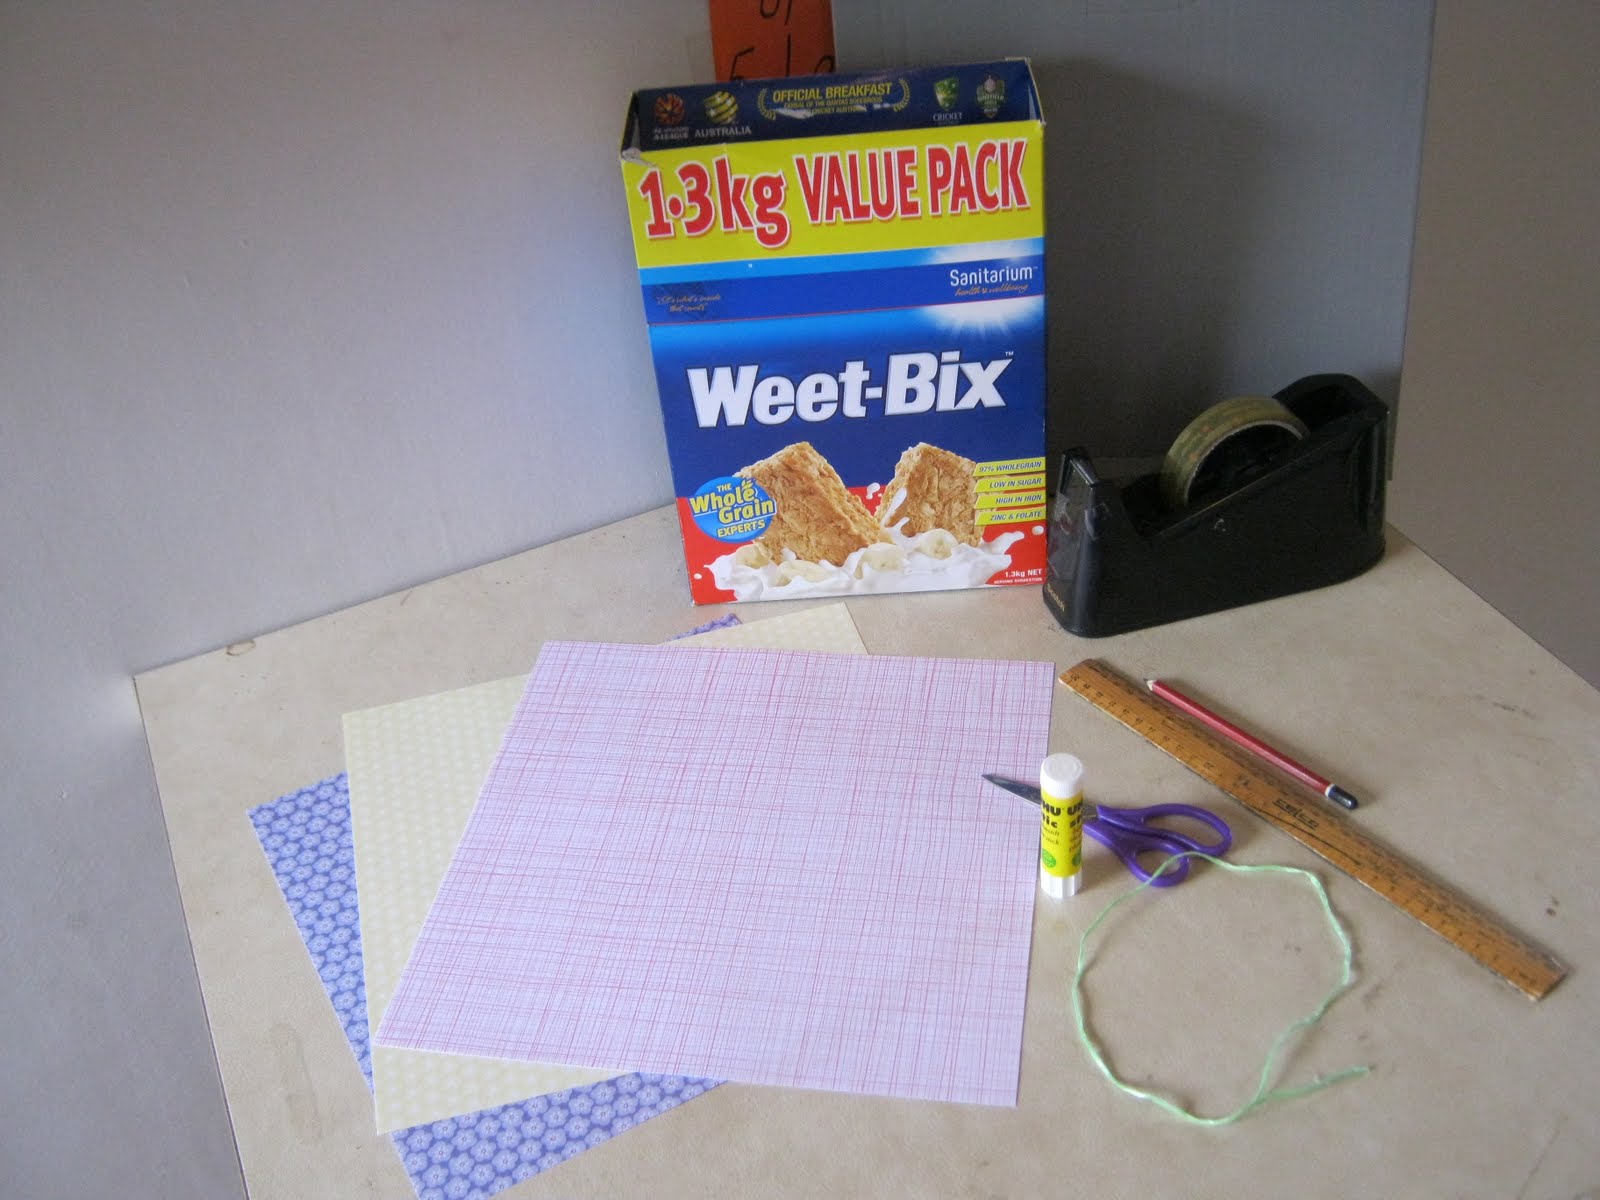
You
will need: thin carboard (we used cereal boxes), stickytape, a ruler, a
pencil, gluestick, scissors, string and coloured/patterned paper
(square is best).
Step 2 - Cut out the triangles

If
your paper is already square, that's great, but if not cut it to a
square shape and then fold it in half so that the back of the paper is
facing outwards. You will then need to draw lines like the ones above.
Our paper was 30cm squared and we drew lines at 0cm, 10cm, 20cm and 30cm
on the top and at 5cm, 15cm and 25cm on the bottom. Once you've drawn
the lines (remember to use a ruler and a pencil in case you make a
mistake) cut out the triangles.

Step 3 - Glue the triangles onto cardboard

This is a pretty simple step, but remember to glue the back of the triangles to the patterned side of the cardboard so that then the backs of the triangles look nice and neat! Another handy tip is to glue the triangles nice and close together so that not so much cardboard is wasted.
Step 4 - Cut the triangles out of cardboard
This is a pretty simple step - but try to cut as neatly as possible!
This is a pretty simple step - but try to cut as neatly as possible!


Step 5 - String the triangles

Above is what our triangles looked like before they were hung. To make the hanging process easier, we taped a piece of string from one side of the room to the other (a bit like a washing line) and then stickytaped the triangles onto the string. It doesn't matter if the backs look a bit bad, the front should be that striking that no-one is going to worry about the back and if the bunting is hung on a wall, you're not going to see it anyhow. If you wanted, you could put 2 triangles back to back.

Step 6 - Hang the bunting and enjoy!


____________________________________________________________________________________
And here is some extra info you might like to know:
To get the bunting done as quick as possible, we had people working at stations. For example: one person tracing triangles, one person cutting triangles, one person gluing triangles and one person stringing the bunting. I'm not going to lie, it still took a while! But the end results are worth it.
The above tutorial is great for hanging bunting inside. Whilst we did have the bunting hanging outside for the sports carnival, it's not really weatherproof, so don't leave it outside in the wind or rain. It got a bit windy the day of our carnival, and some triangles fell off :(
I haven't tried it but perhaps by laminating the triangles too and hot glueing the triangles to the string will make them a bit more weather resistant.
If you decide to make some bunting (you'll love it!), please share as I'd love to see how yours turns out.
In the meantime, the weather has finally figured it's spring! The weather on the weekend was definitely summer like. Oh, I can't wait... nights spent sleeping on the trampoline under the stars, not having to wear 3 layers of clothing, spending hours on end at the swimming pool...
But then there's... fly's in mass that will cover every single surface and leave your hands sore from swatting and temperatures that are so hot that all you can't do anything, even inside with the air-conditioning on!
What is the weather like near you? Are you looking forward to summer or glad that it is over?
I have a bunting obsession as well! Although I've only made it once so far. Love yours! It turned out really cute :)
ReplyDeleteThanks Britni! I'm still in love with this bunting as much as I was when I first made it. I really want to try some fabric bunting now though. S xx
ReplyDelete